3D models
What you need
- Blender
- TDUWE
- Zmodder 2.2.4
- TDUMT
What you can do?
- You can create any object you want.
- You can use textures located in TDUs commonworld for your objects.
- You can edit the UV of your objects.
What you can't do
- You can't use TDUs road objects.
- You can't go over the BNK limit(4.7kb)
Making the object
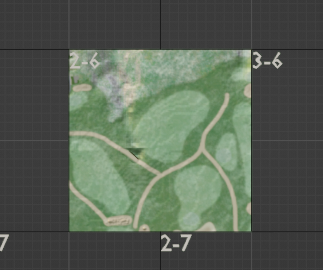
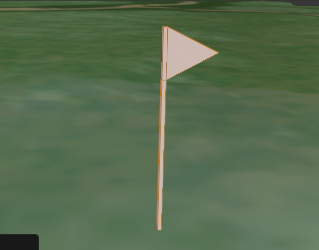
Since we are on a golf course. Lets make a very simple flagstick(the flag pole thingy to mark holes). I've opened the SHKR template. Reinport sector-10-7-2-6. Gave its colour map. If you dont know how to do these things please refer to HMAP and SHKR guide.
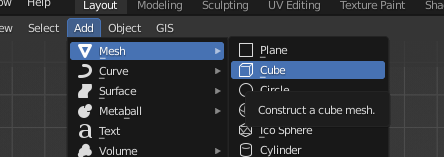
1. Lets add some mesh. Look up at the menus and find add/mesh/cube.
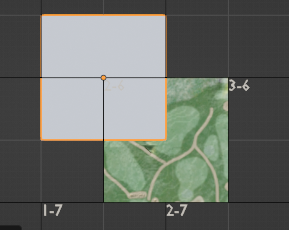
2. It will spawn in the centre of the scene. Please select grid snapping. press numpad7 to look down, and press G to drag it to the top left corner of the sector.

3. Make sure the cubes orange dot is located at the top left corner like so.
Its now in its proper place. Keep in mind that if you want to put objects in the other sectors, you need to put them at corresponding points too. Now its ready to be edited. You must only edit this object in edit mode(tab) Do your scaling and transforming there, but leave the object transfrom alone, unless you want to move it into a new sector.
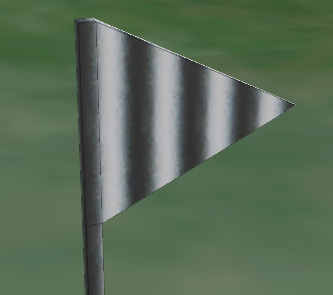
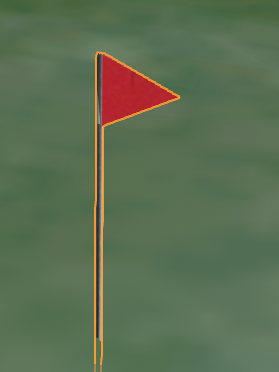
Now its a case of making look like a flag pole. I found this lighter patch of grass on the golf course so I will place it there. I'll leave it up to you on how you want to build it. You might not want to make a flag pole, you might want to make a golf buggy or something else, Its entirely your choice.
Okey, lets add some textures. First we need to export all the textures located in the commonworld.bnk. Open up TDUMT. Click on "2DB->DDS"
You will see a window named "TDUMT - 2DB to DDS Converter" There's a small tab named "Many" click on it.
Click on the "..." button for Source BNK file. Find your TDU CommonWorld.bnk the path should be like this:
Test drive unlimited 1\Euro\Bnk\Level\Hawai
Open the .BNK and now you need to set your target folder. Make sure its somewhere easy to find.
Click on the GO button when ready. Give it a second.
You now have DDS files that Blender can use. Go back to Blender
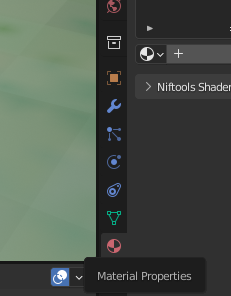
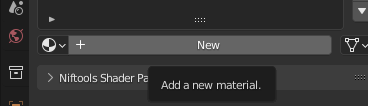
Make sure the object is selected and click the material properties tab.
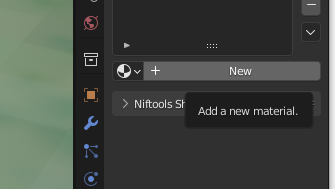
Then click new.
You may want to change the name to something else. Look down to base colour and click on the yellow circle, and choose image texture.

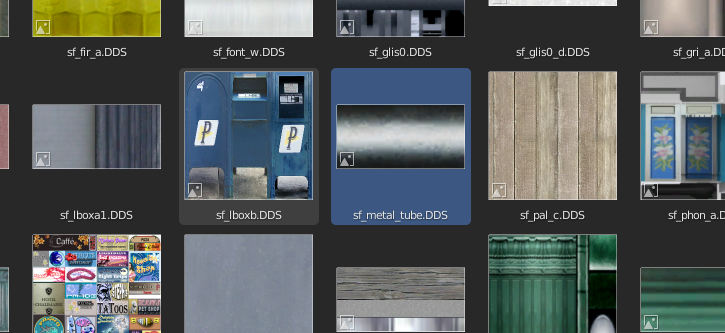
You see a new button that says "Open" click on it and locate your DDS folder you exported. Change the display mode to thumbnails so you can see the textures.

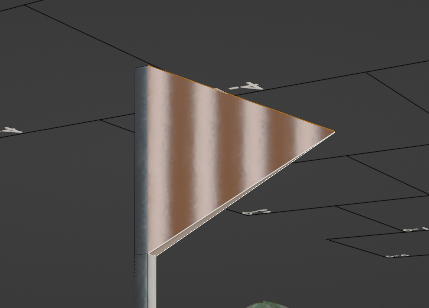
For my pole I'm going to go for "sf_metal_tube"
For the flag part I'll give it a seperate material. I'll show you further on.
Now we need to set the UV, there's no limit on how it should look like, It will work reguardless. 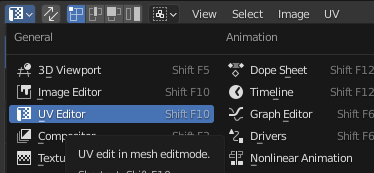
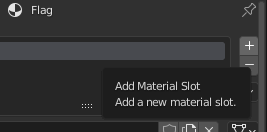
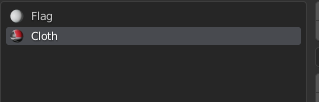
Lets add some more materials.
Click on the little plus button next to your materials list
Click new
Do the same thing. Give it a name and select a .DDS from TDU.
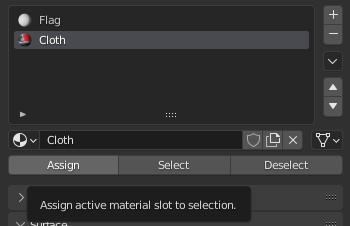
You'll need to assign the texture to the part you'll want to texture. Have object selected. Go into edit mode(tab) select the faces you want to edit.
Select the new slot
Click assign.
You may need to edit the UVmap because its a different texture.
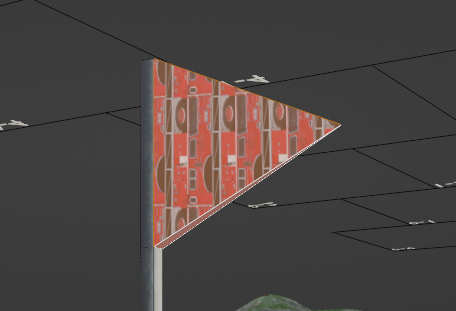
Once you are happy with the changes. Make a copy of the object.
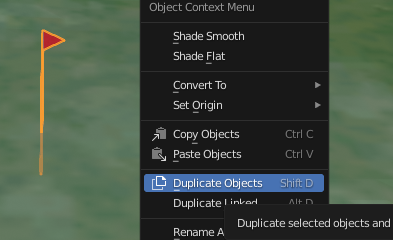
With the duplicate selected
Exporting the object
There's two ways to export objects. One is to use Zmodder on its own. This is easiest option of the two. The other is to use a 2DM generated by TDUWE.


Recommended Comments